Barcode Scanner
Frequently Asked Questions
Section titled “Frequently Asked Questions”How to connect the scanner?
Connection process:
- Connect the barcode scanner to your PC
- Use it in the program
No additional setup is required
Using a Barcode Scanner in HelloClient
Section titled “Using a Barcode Scanner in HelloClient”HelloClient supports barcode scanners without additional configuration. Simply plug the scanner into your PC and start scanning!
Where you can use the scanner:
- 🔍 Searching for products in the “Shop” module
- 📦 Searching and adding products in the “Inventory” module
- 📑 Quickly searching orders in the “Orders” module
Working in the “Shop” Module
Section titled “Working in the “Shop” Module”- Click “+ Sale” in the bottom right corner
- Focus the cursor in the search field → scan the product barcode
- On mobile devices: Tap the 📷 icon in the search field → scan via your phone camera
Working in the “Inventory” Module
Section titled “Working in the “Inventory” Module”Adding a new product:
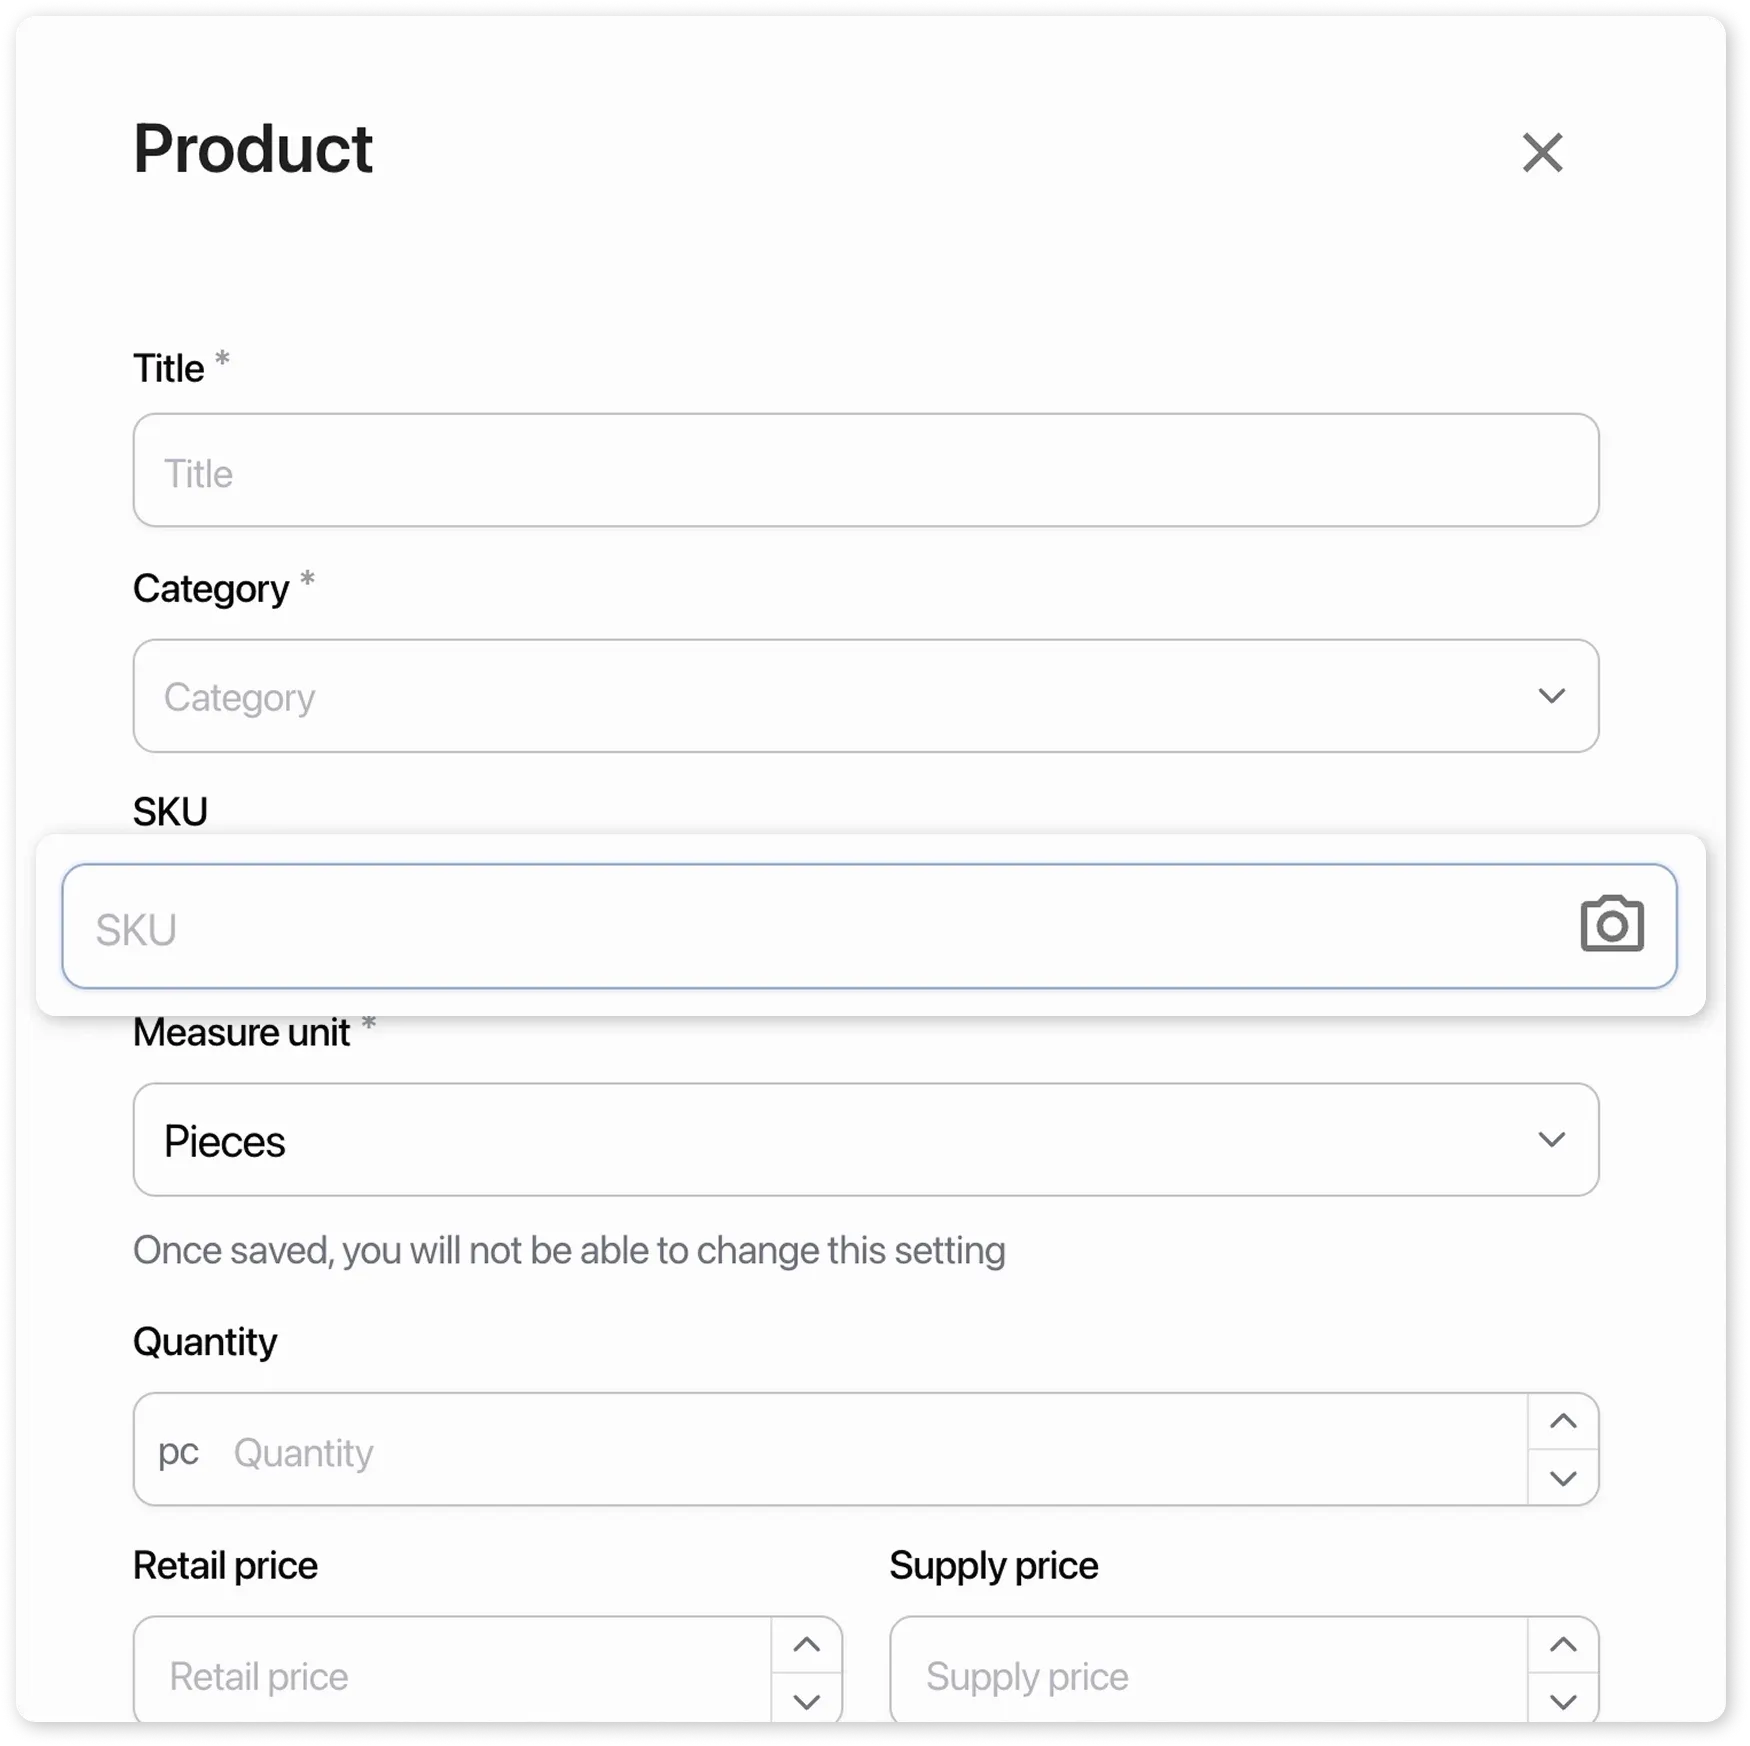
- Click “Create a product” → place the cursor in the “SKU” field
- Scan the barcode → the field will fill in automatically
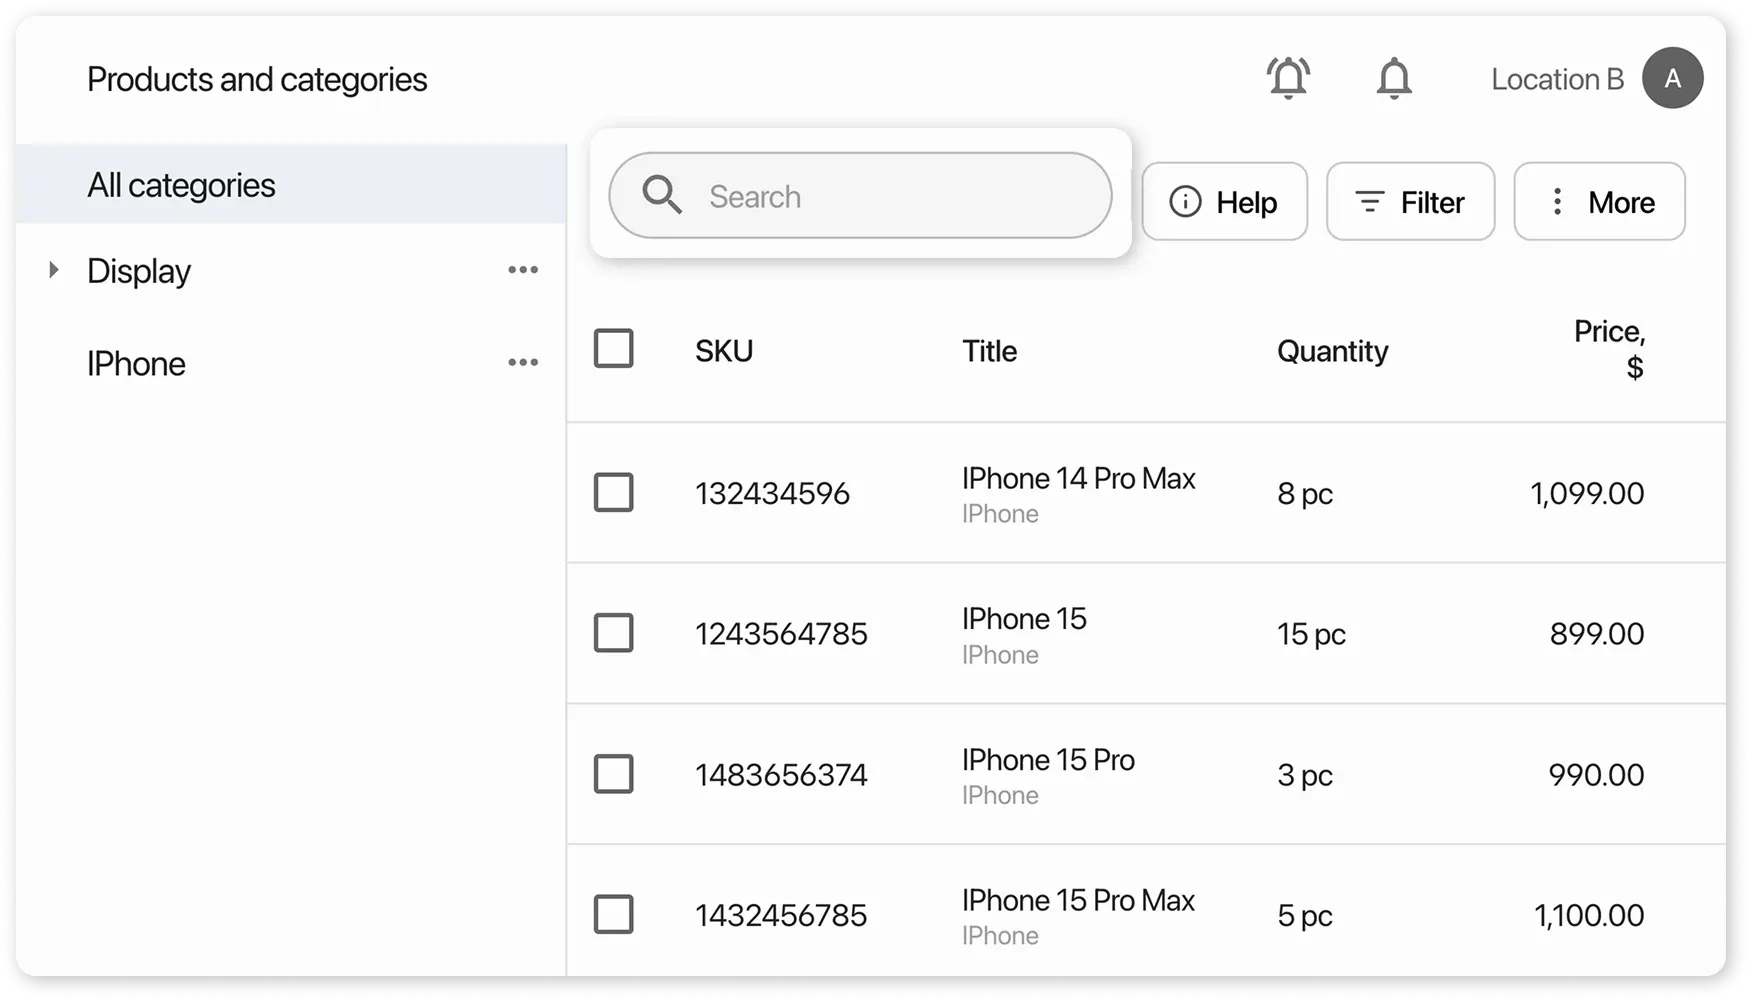
Searching for a product:
- Place the cursor in the search field → scan the barcode
- On mobile devices: Use the 📷 icon in the search field
Working in the “Orders” Module
Section titled “Working in the “Orders” Module”Searching for an order by barcode:
- Place the cursor in the order search field → scan the barcode from the receipt
- 💡 Add the “ order number (barcode)” variable to the document template via Settings > Documents
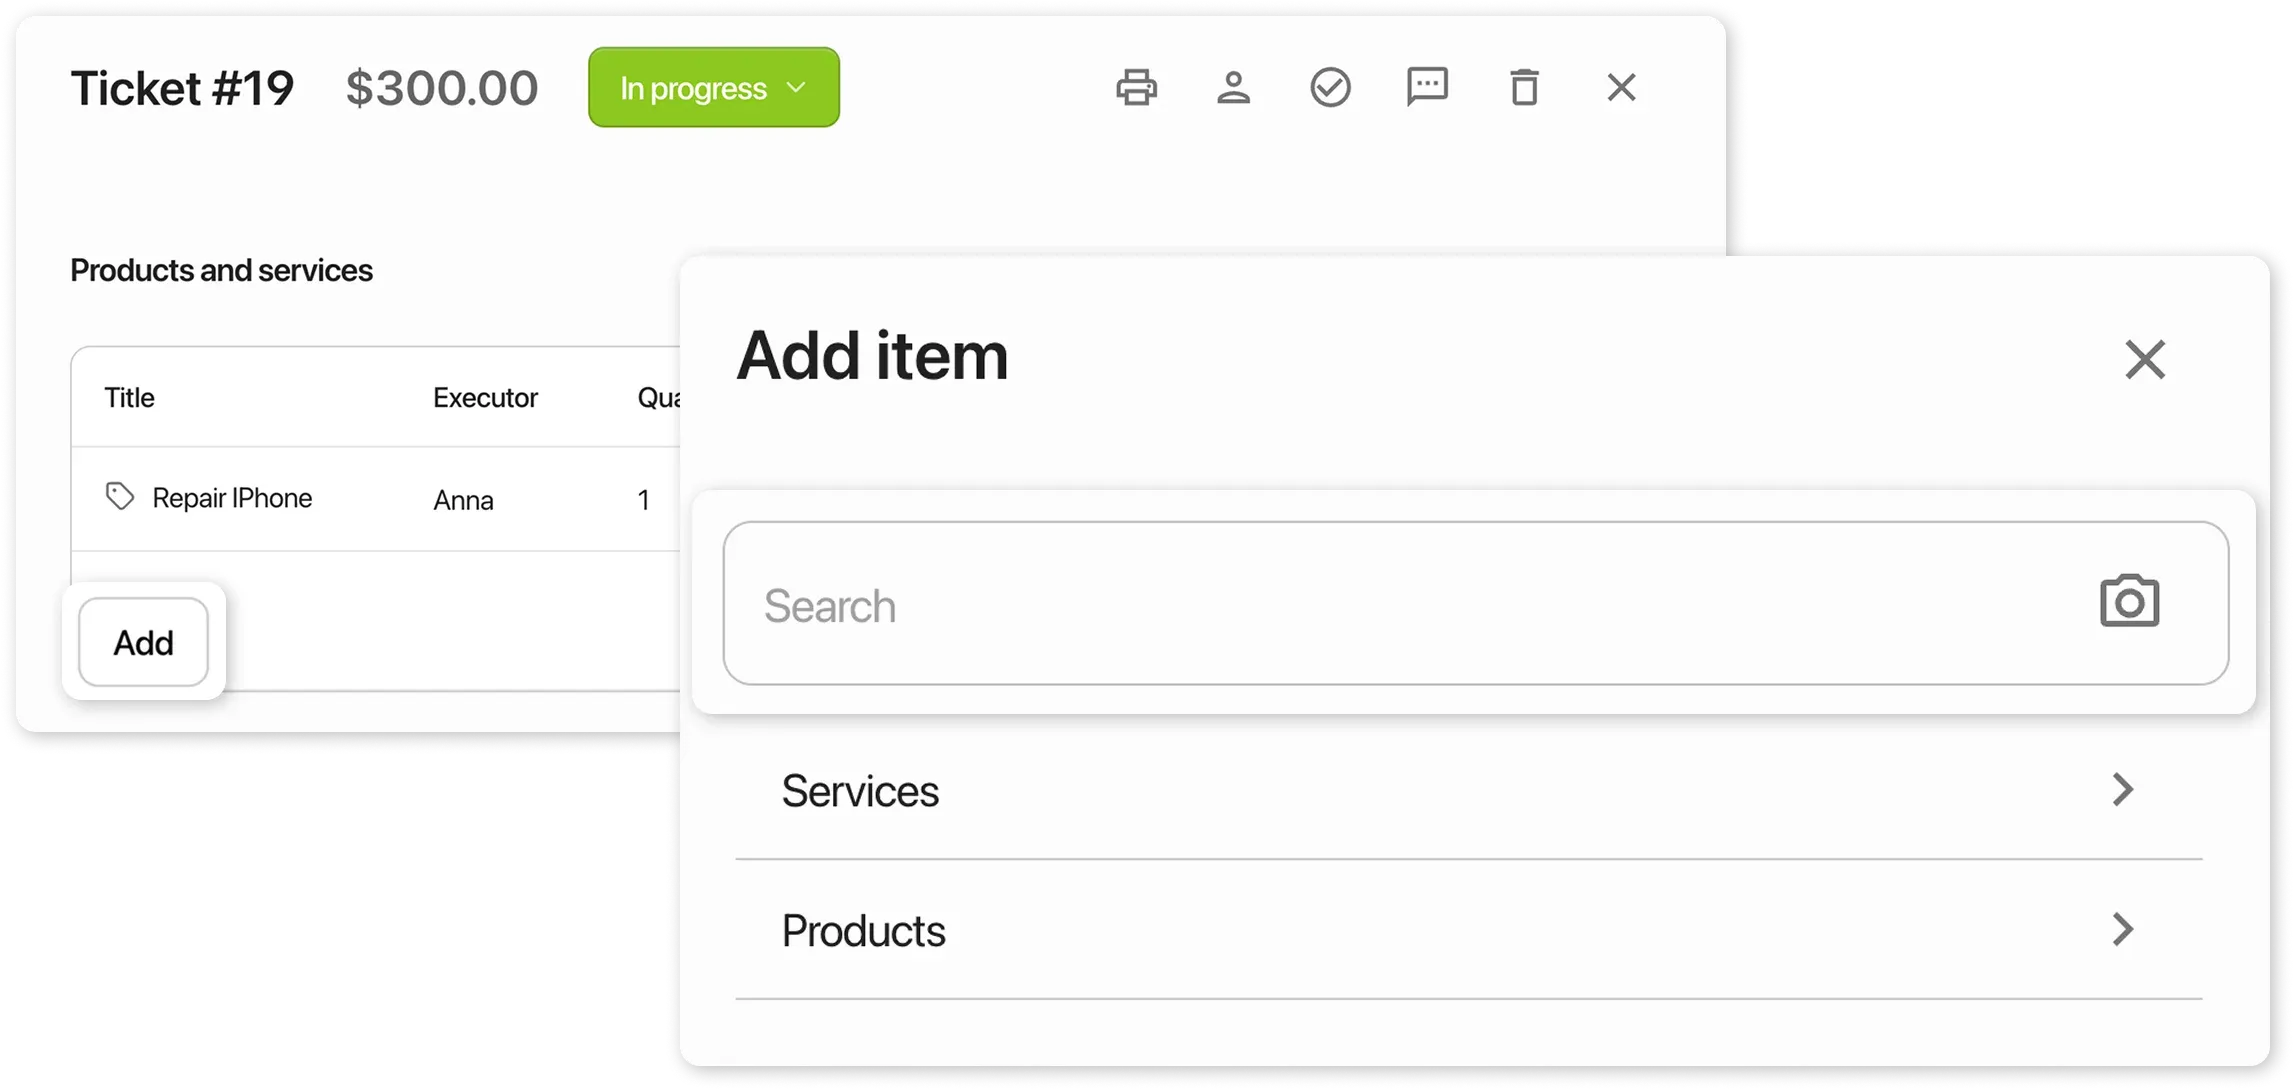
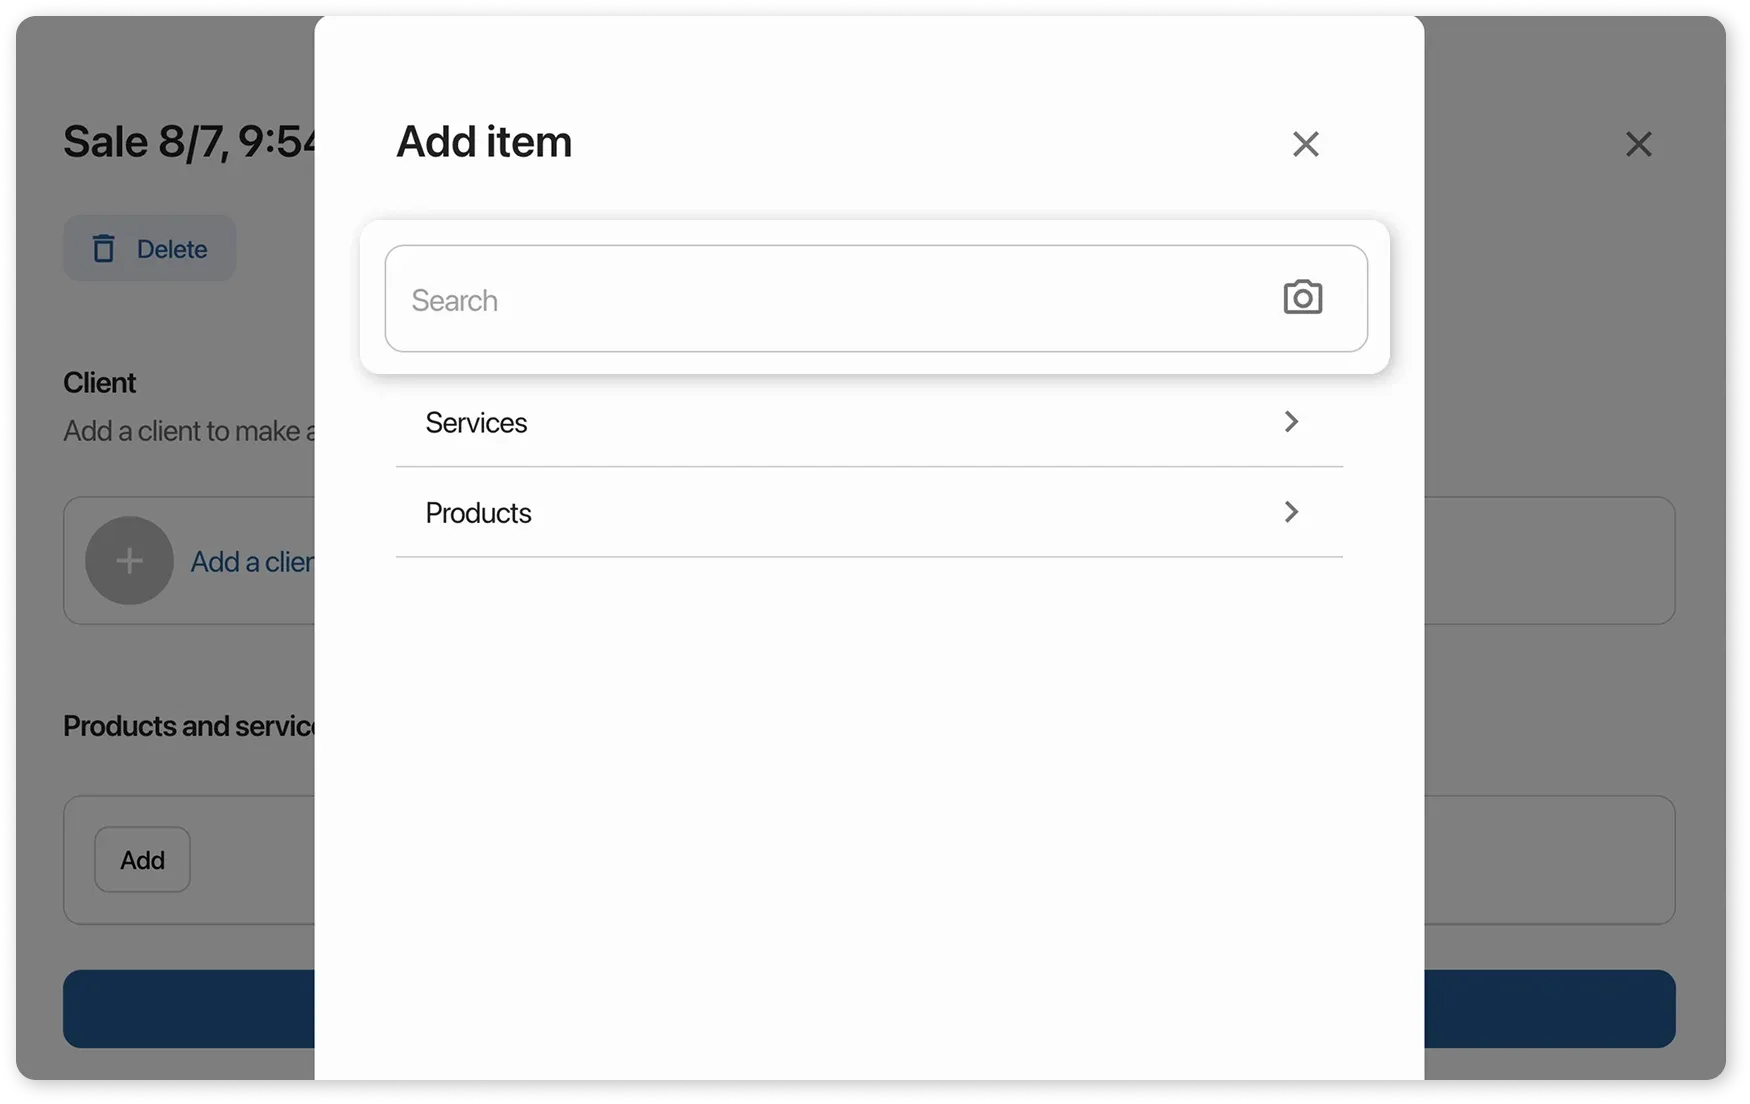
Adding a product to an order:
- Click “Add” → place the cursor in the search field → scan the barcode